How to Install Hyper-V on vmware Workstation 10 ?
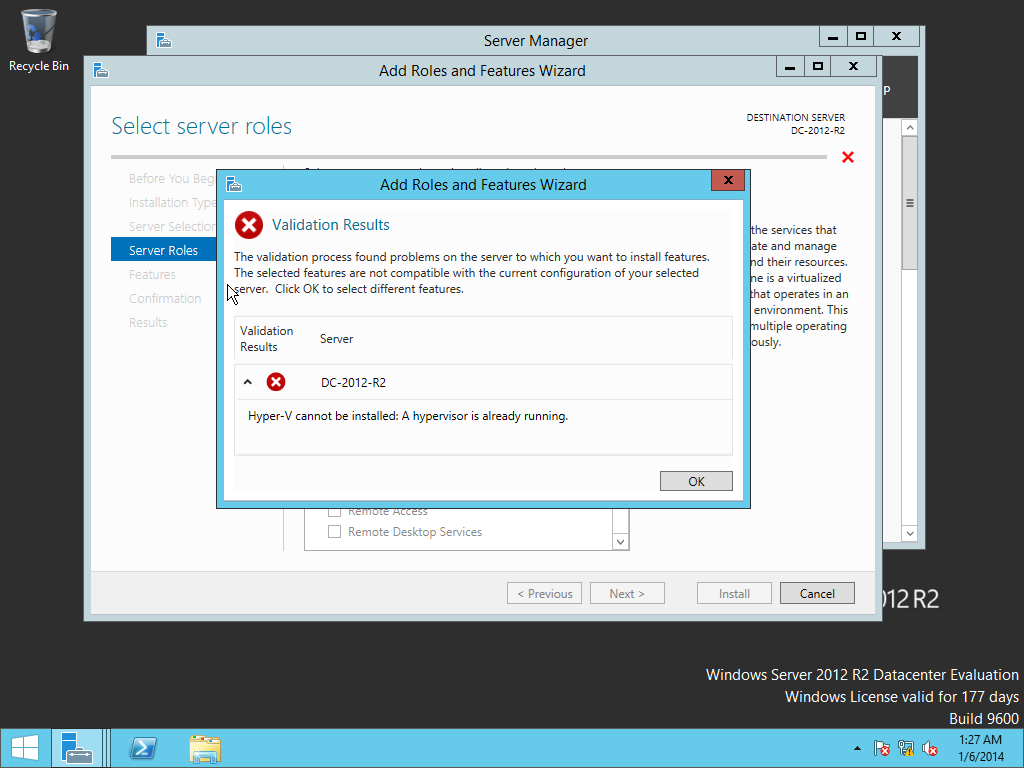
As we know we can’t install Hyper-V on vmware Workstation and when install it from Server Manager we get an Error.


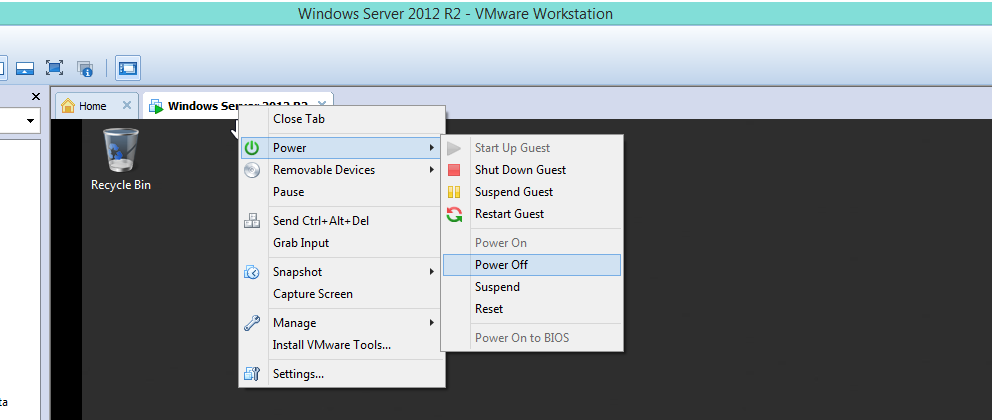
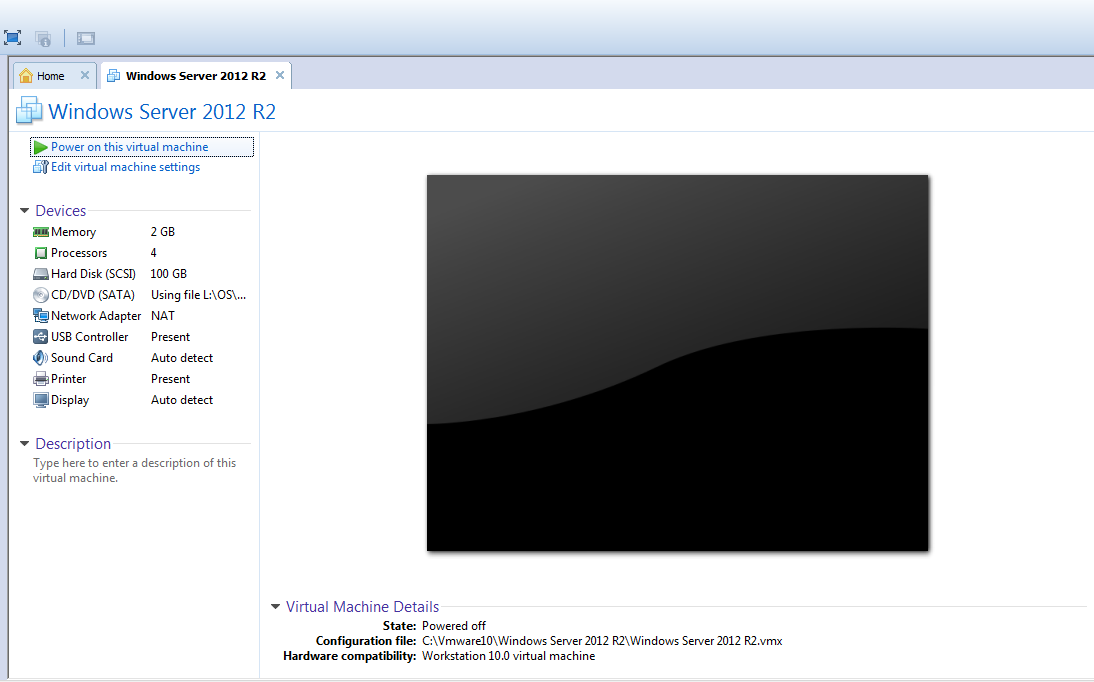
• Now Right Click on Virtual Machine and Power -> Power off the VM.


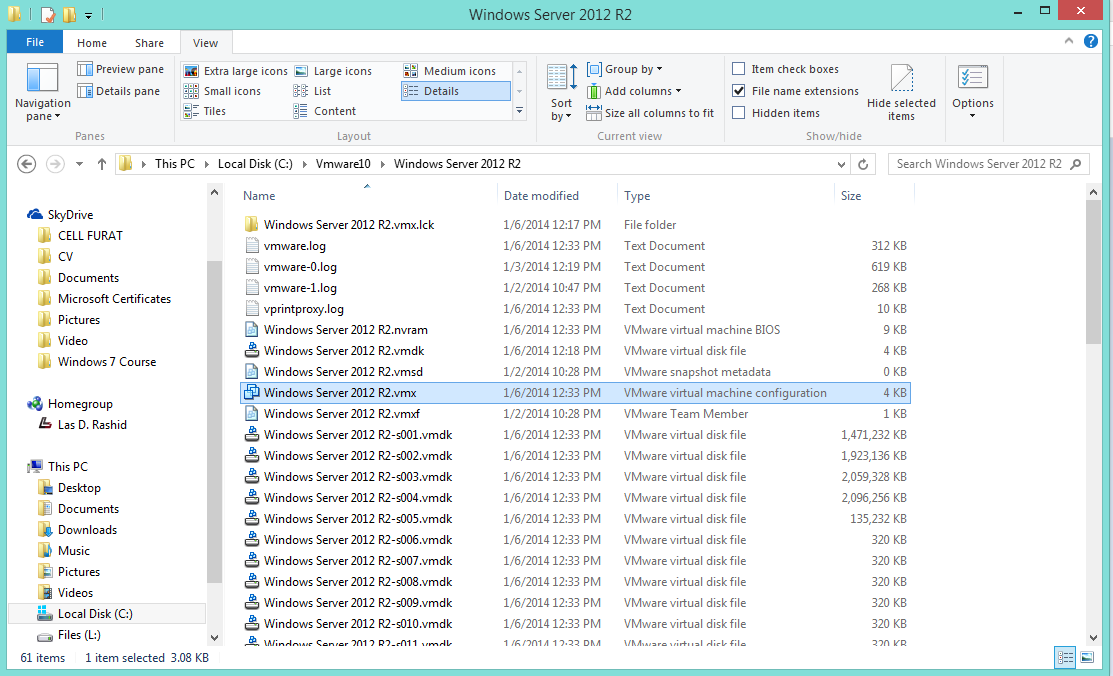
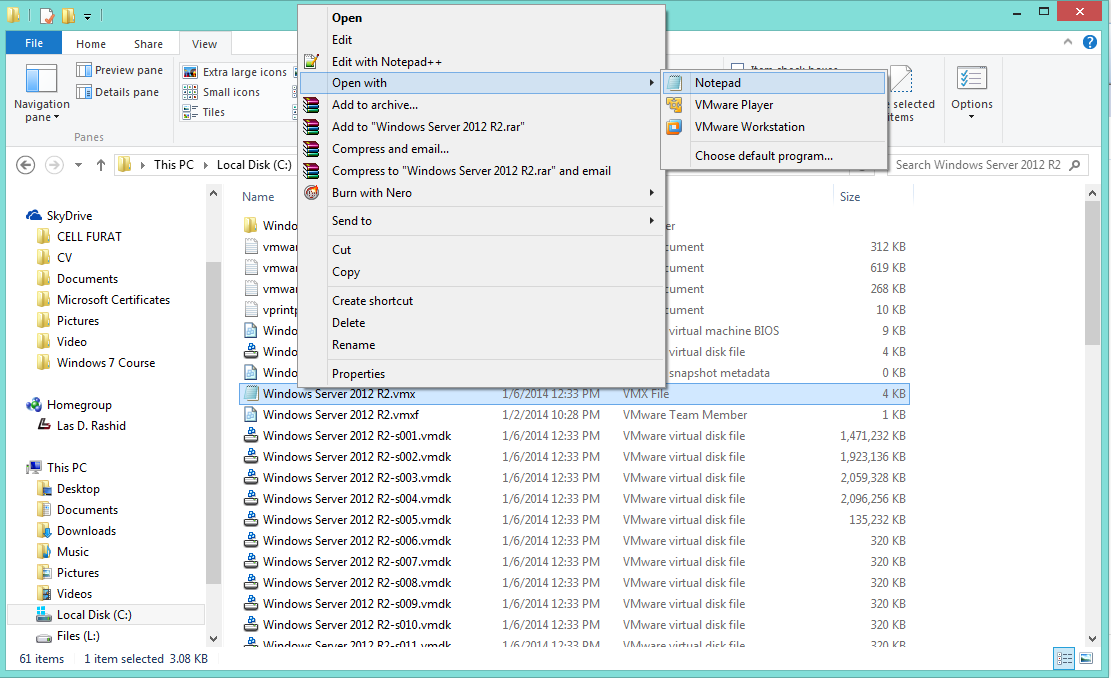
• Now open the file Location for this Virtual Machine and open the file Extension ( *.vmx ) and open it with Notepad.


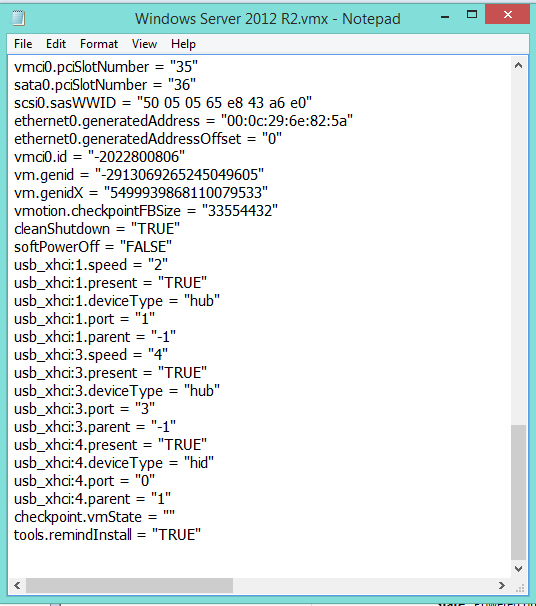
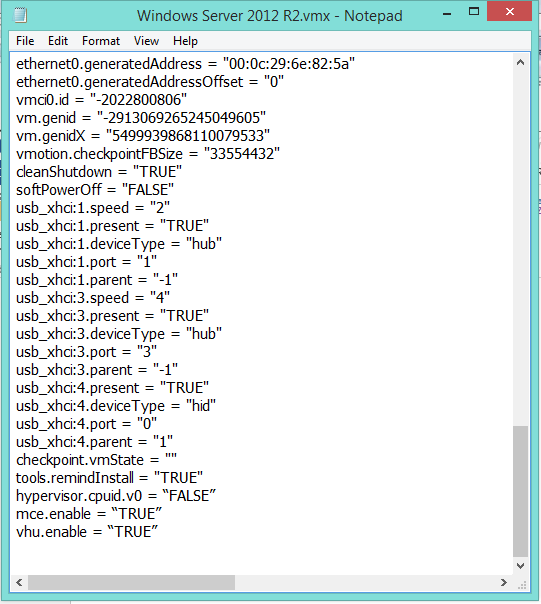
• In the last line we will add this code and save it:
hypervisor.cpuid.v0 = “FALSE”
mce.enable = “TRUE”
vhu.enable = “TRUE”

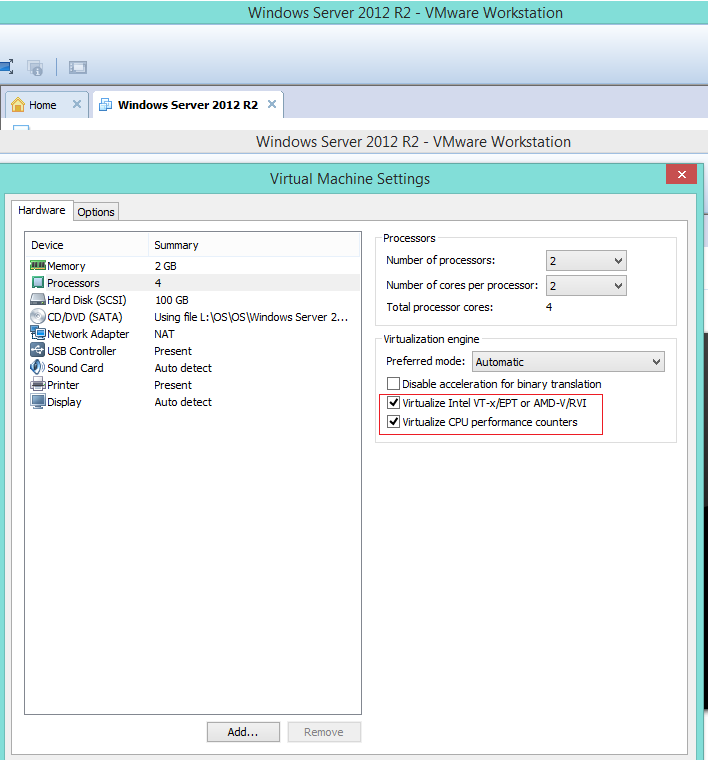
• After that edit the setting on VM from vmware workstation select Processors and check the
✔ Virtualize Intel VT-x/EPT or AMD-V/RVI.
✔ Virtualize CPU Performance counters.


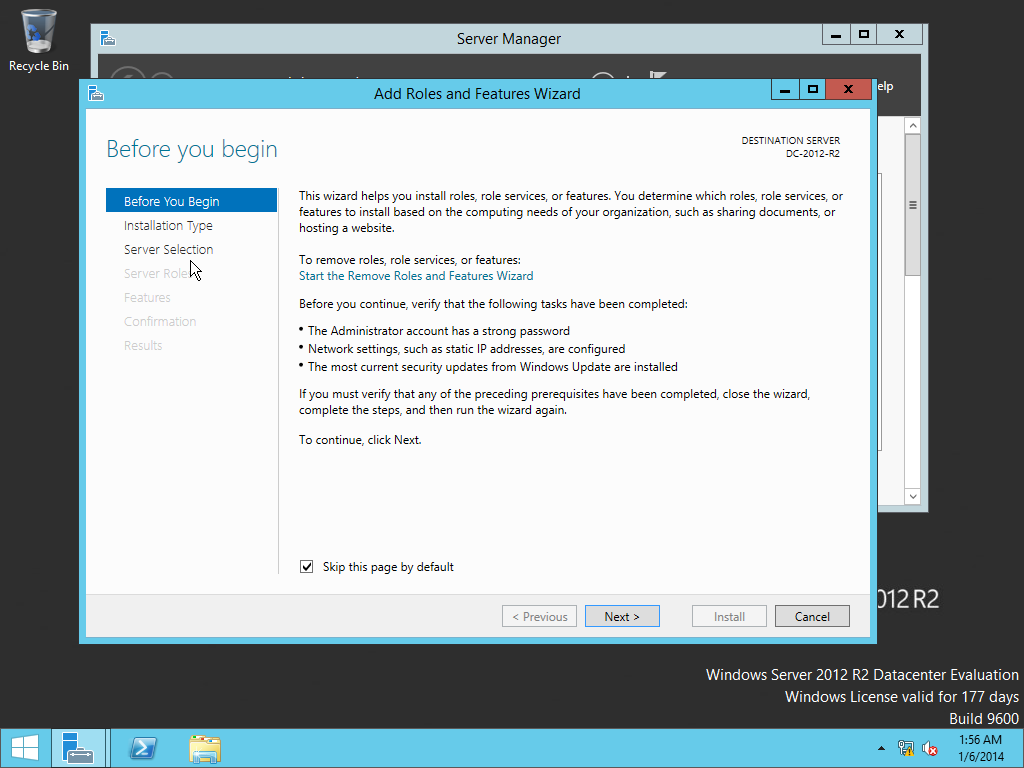
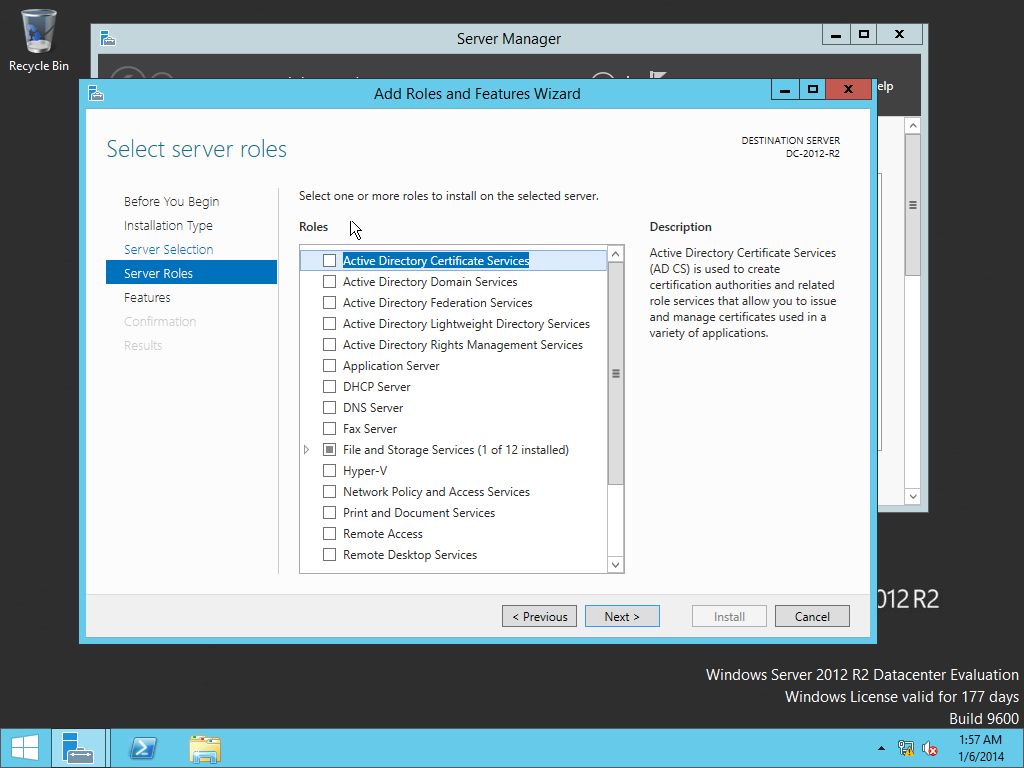
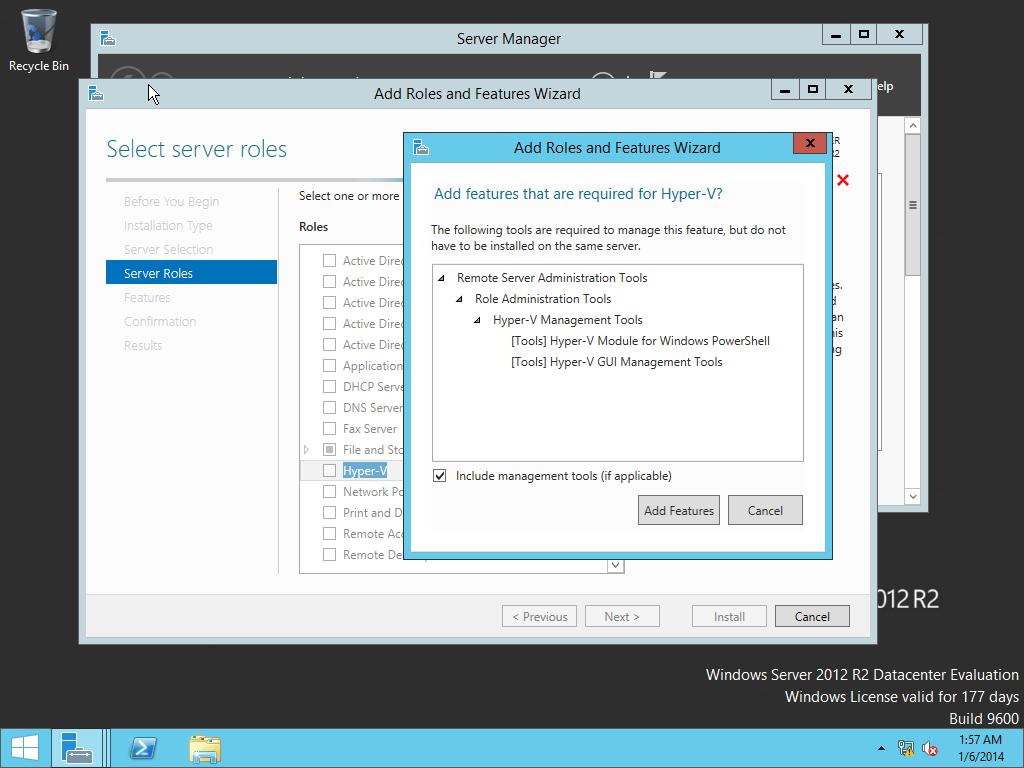
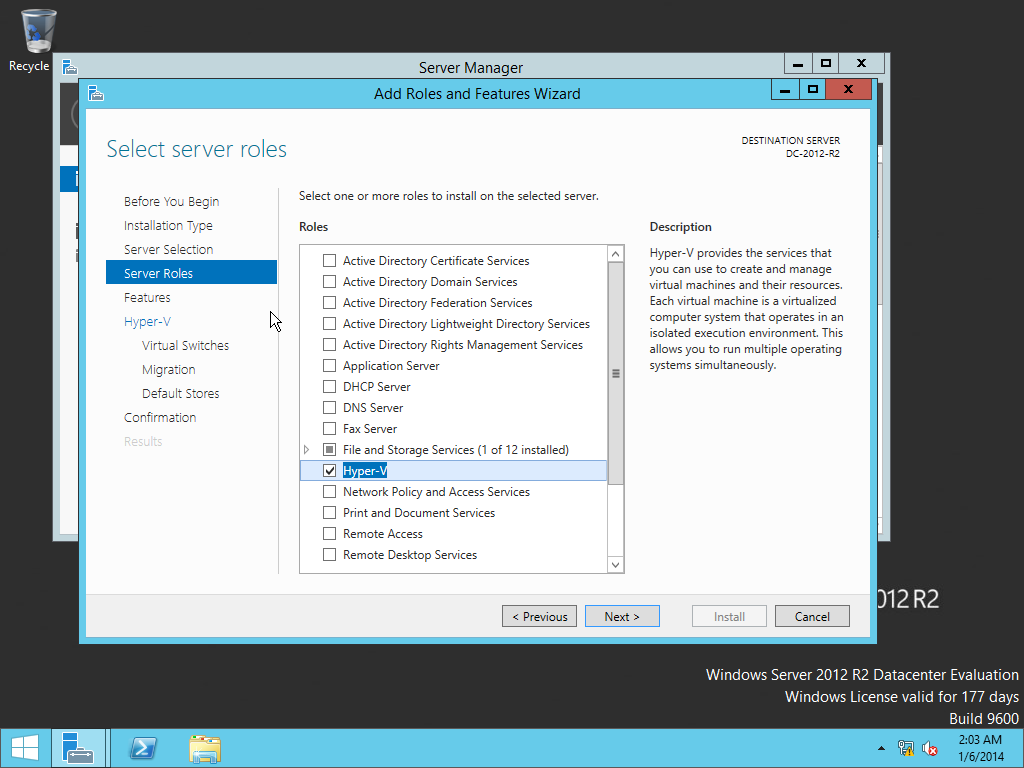
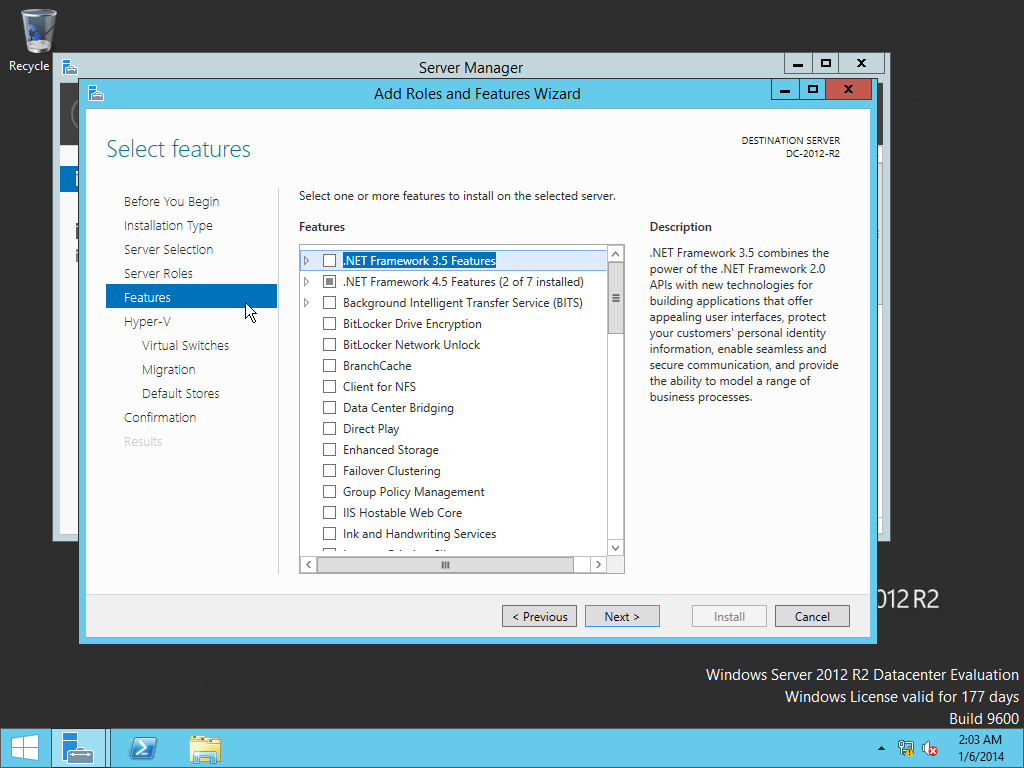
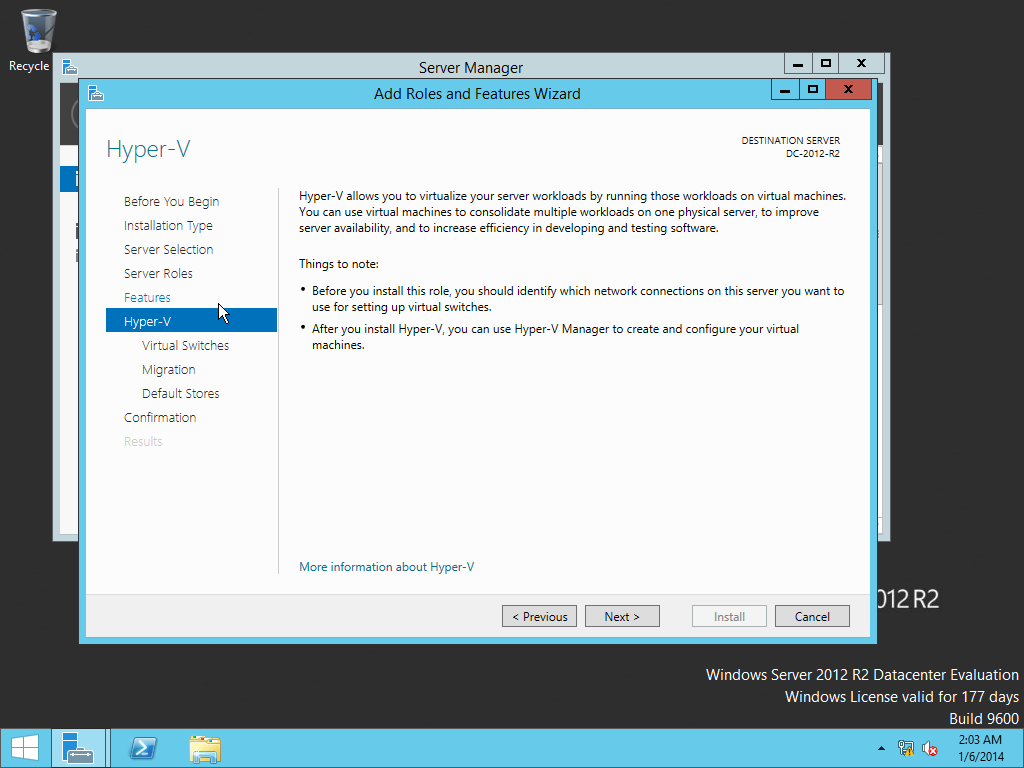
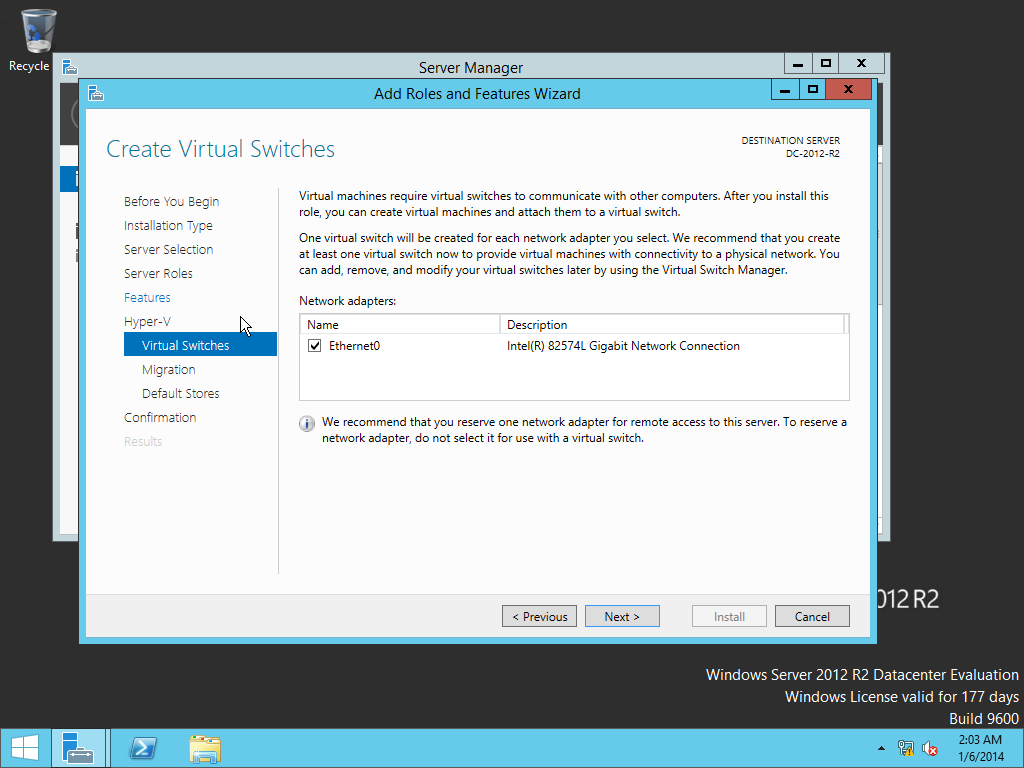
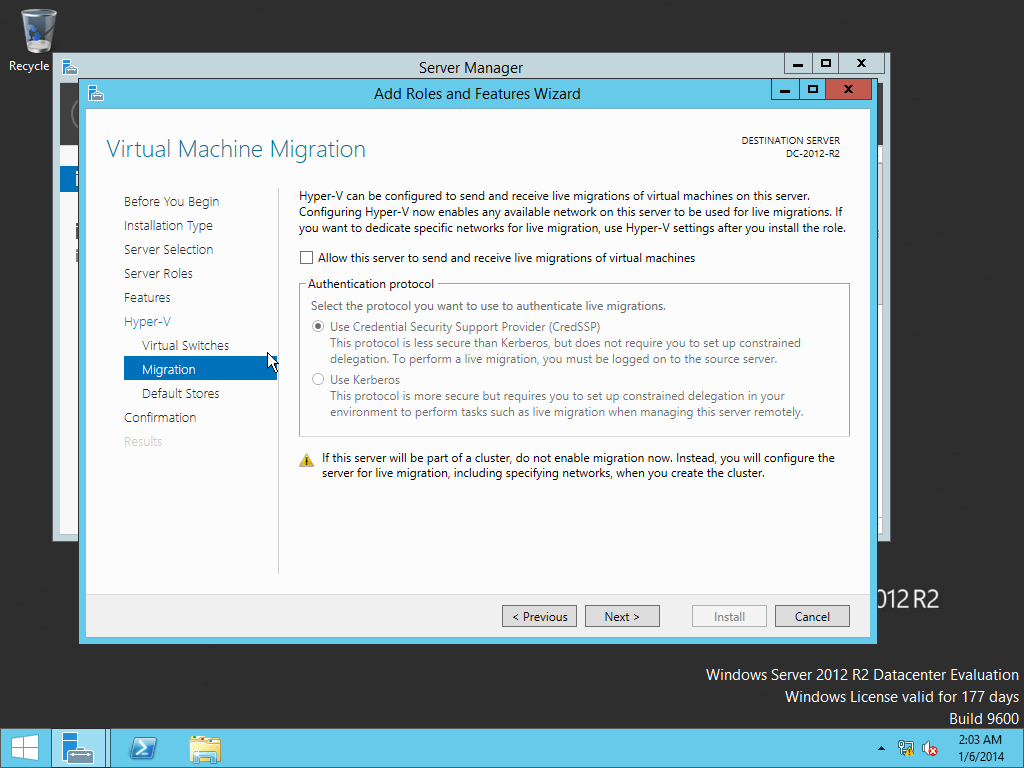
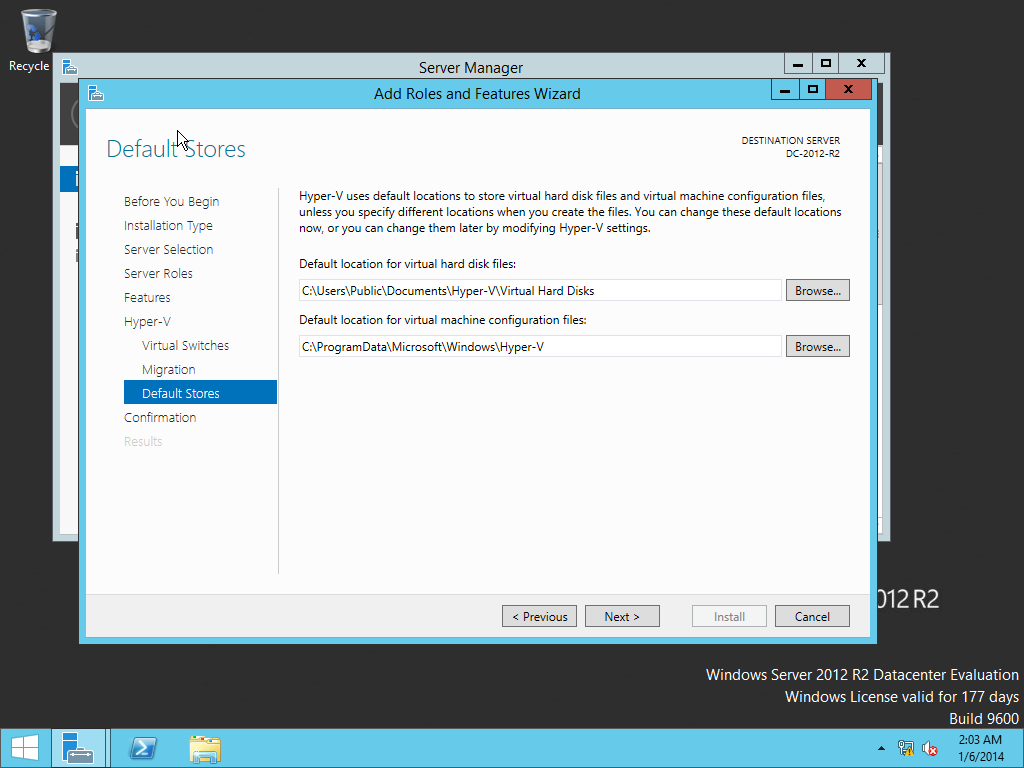
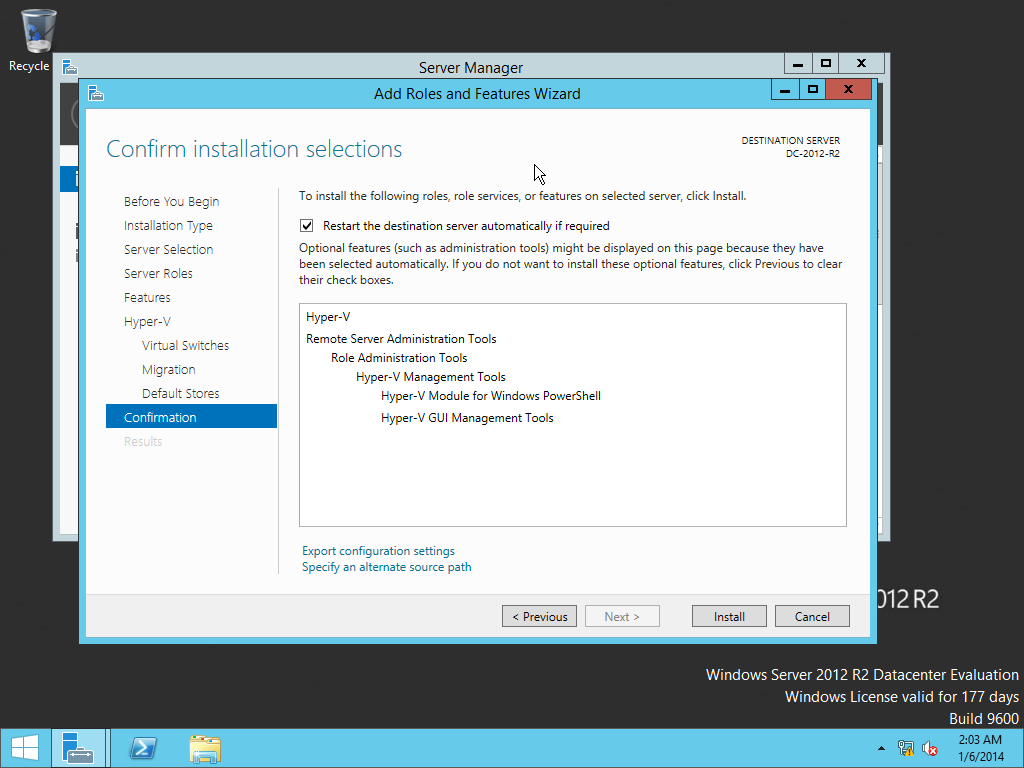
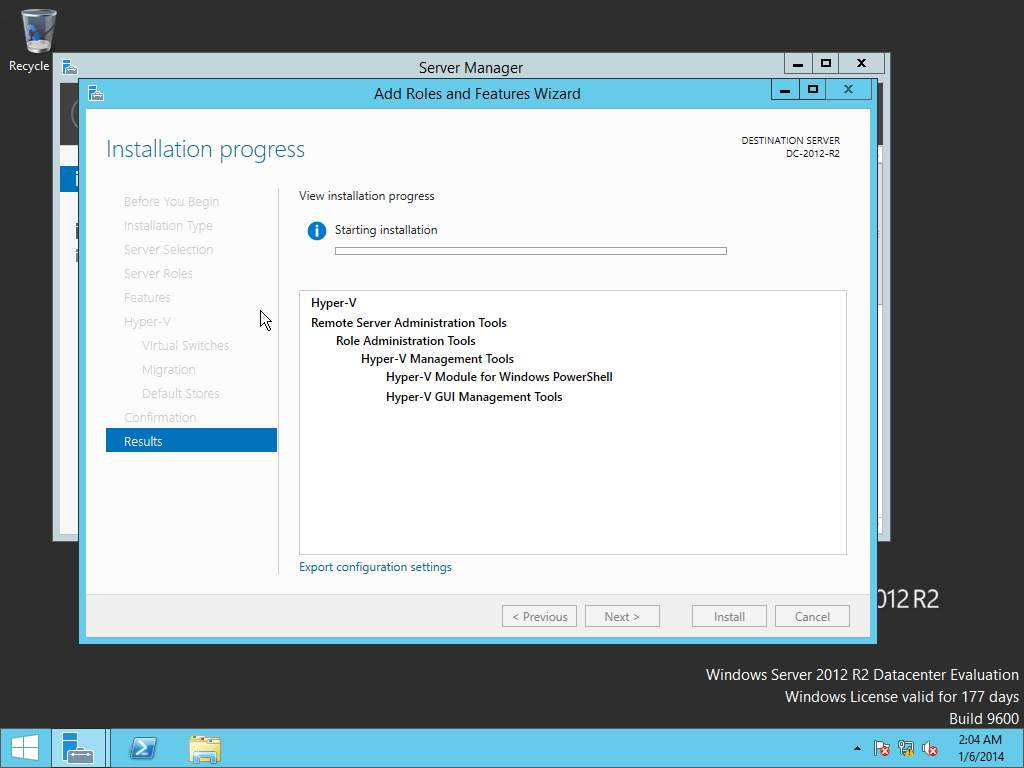
• Now the configurations is done, now Power on this virtual machine and install Hyper-V Role.


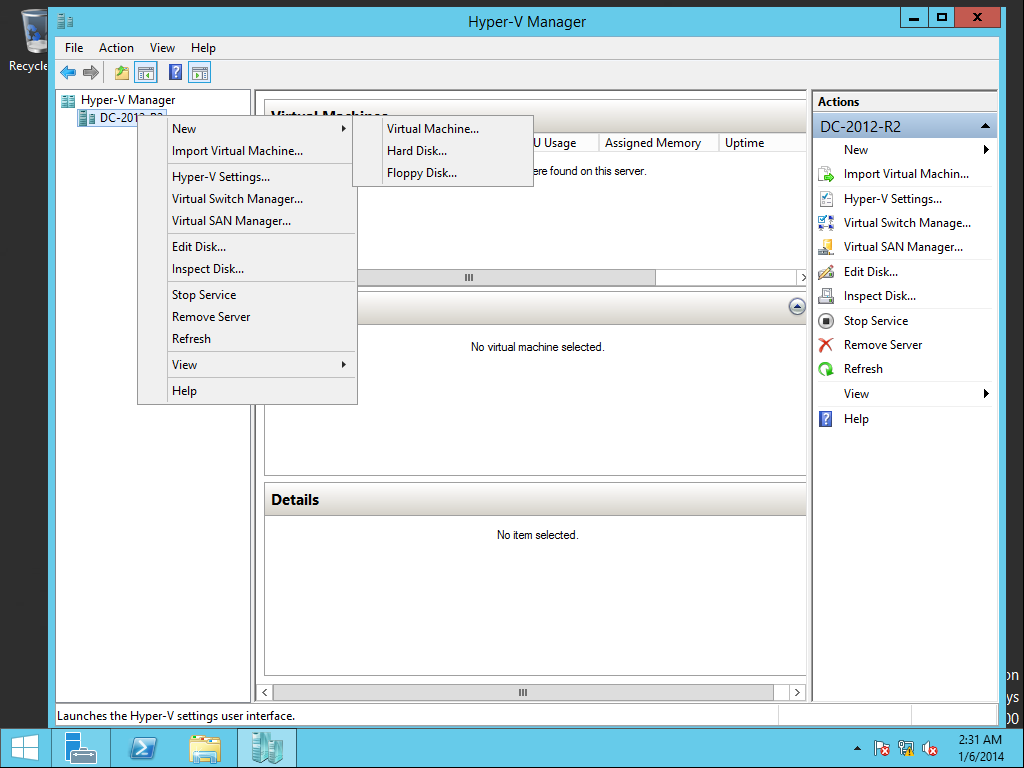
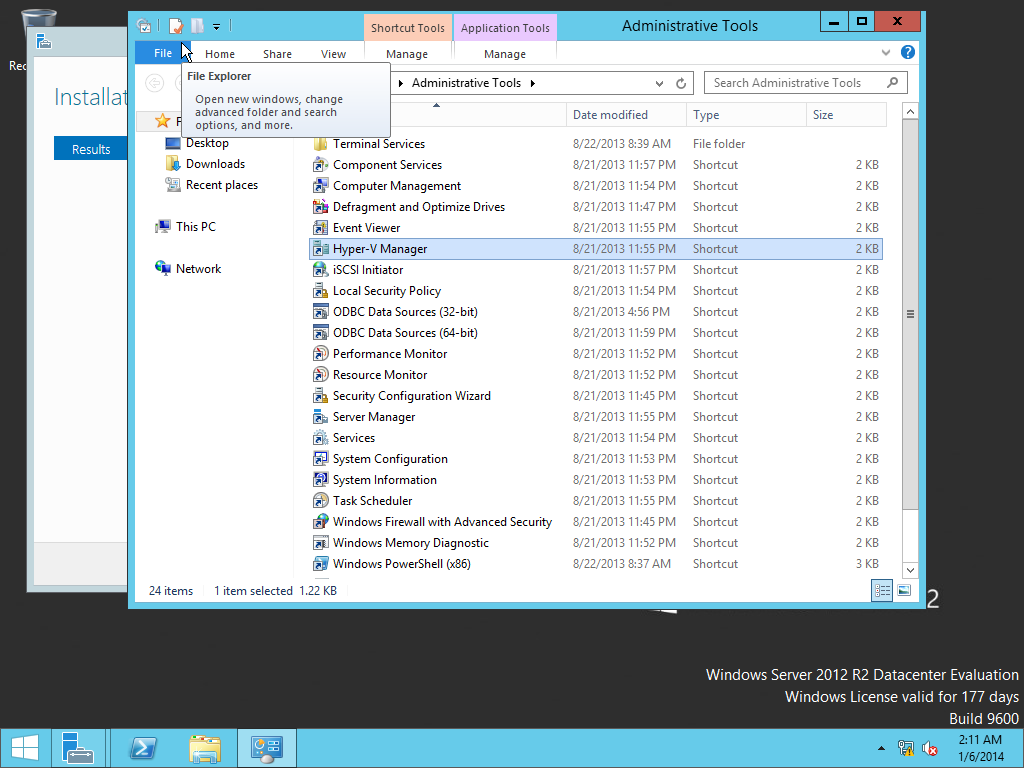
• After installing Hyper-V open the Hyper-V Manager from Administrative Tools.


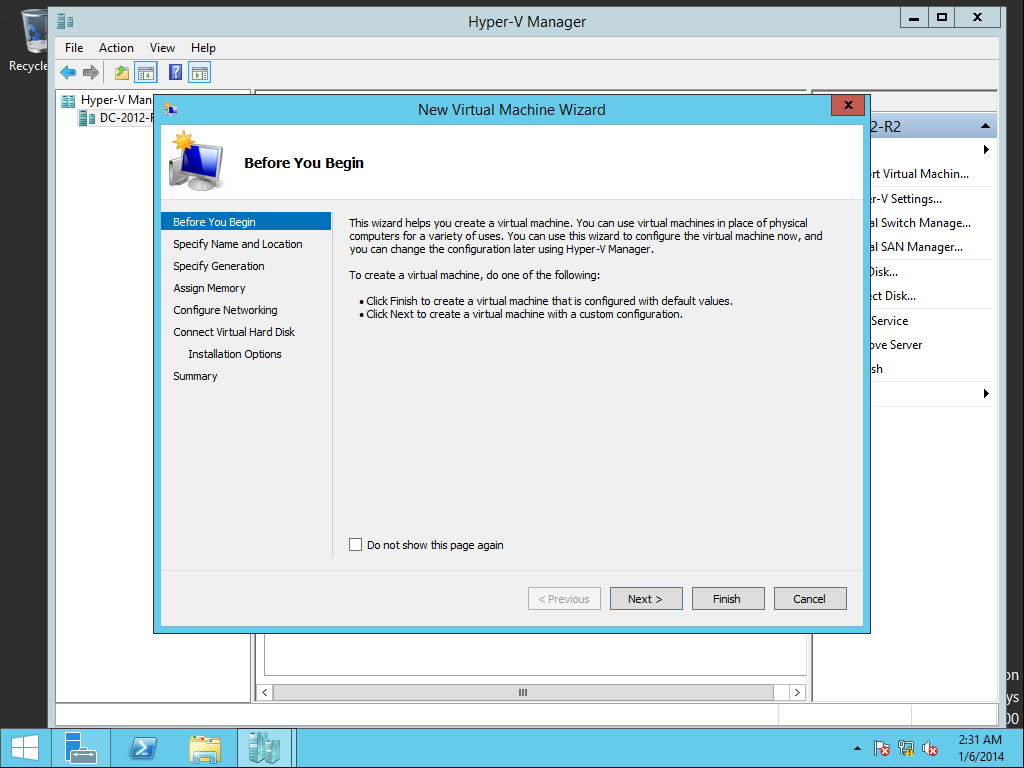
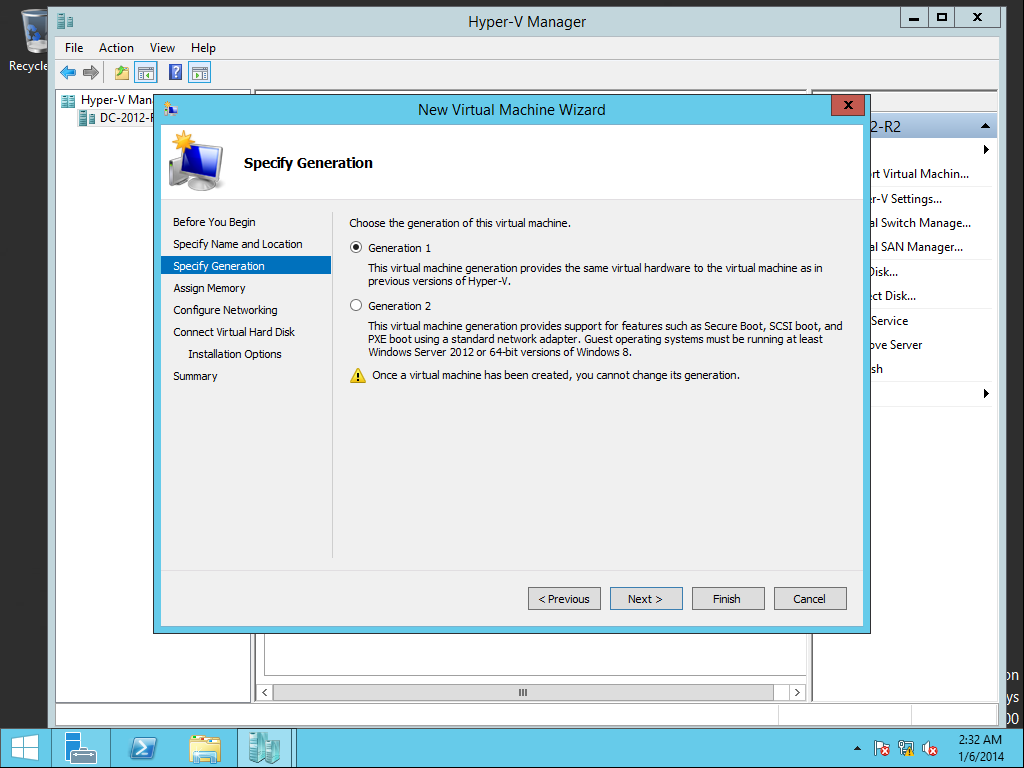
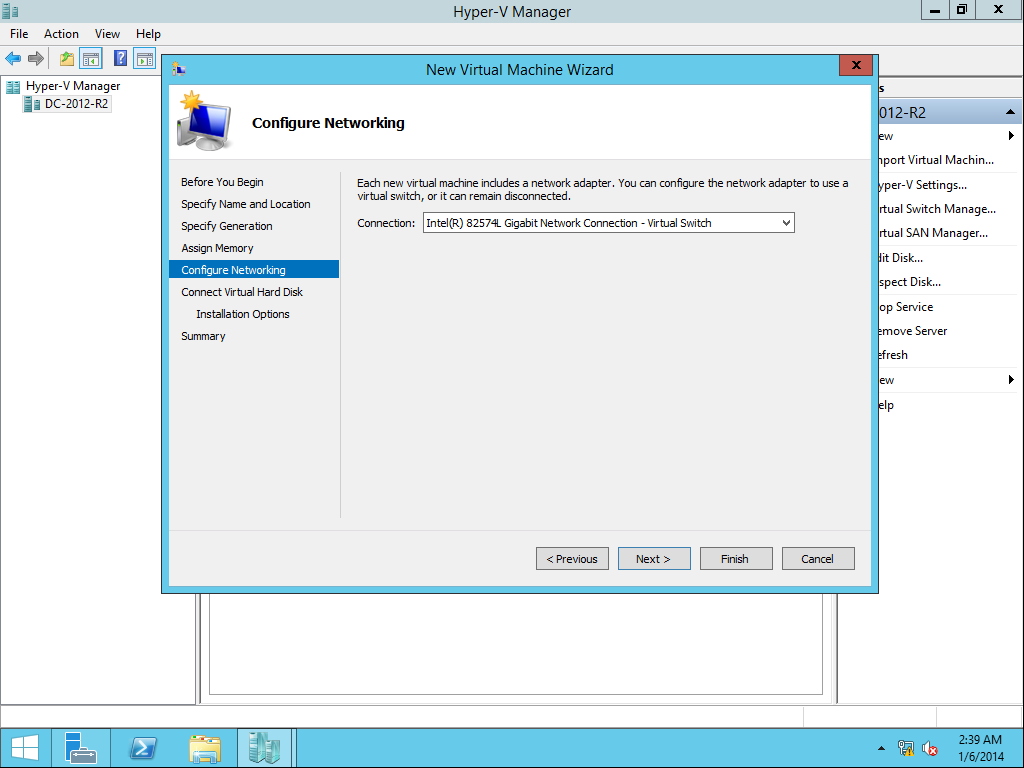
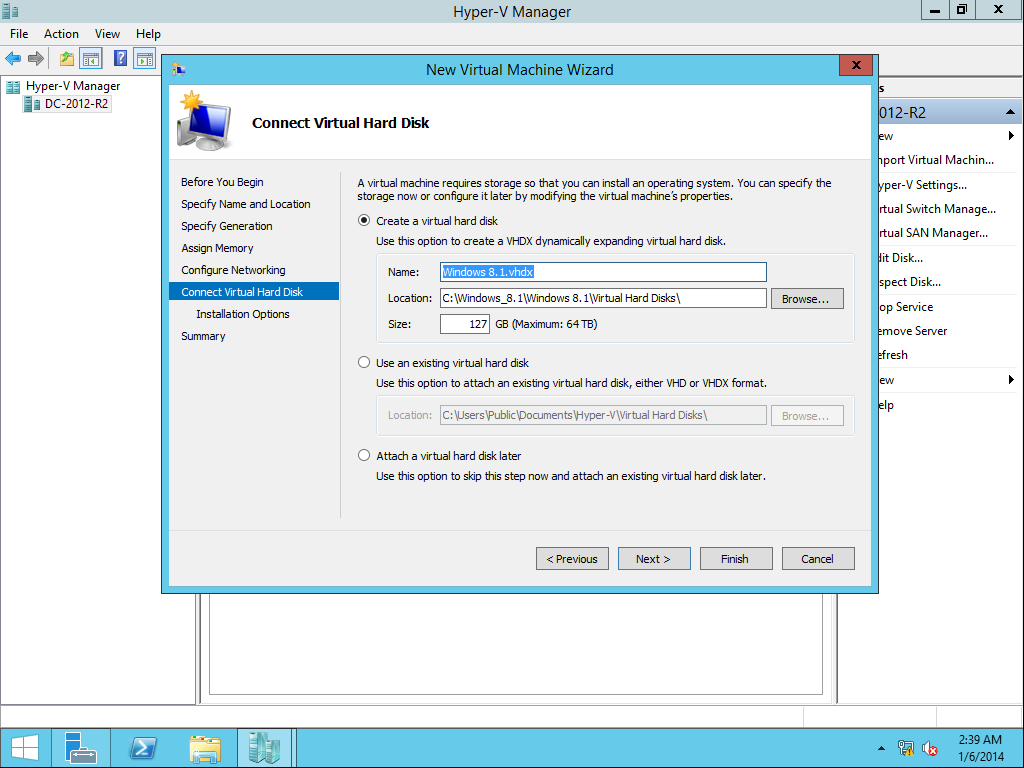
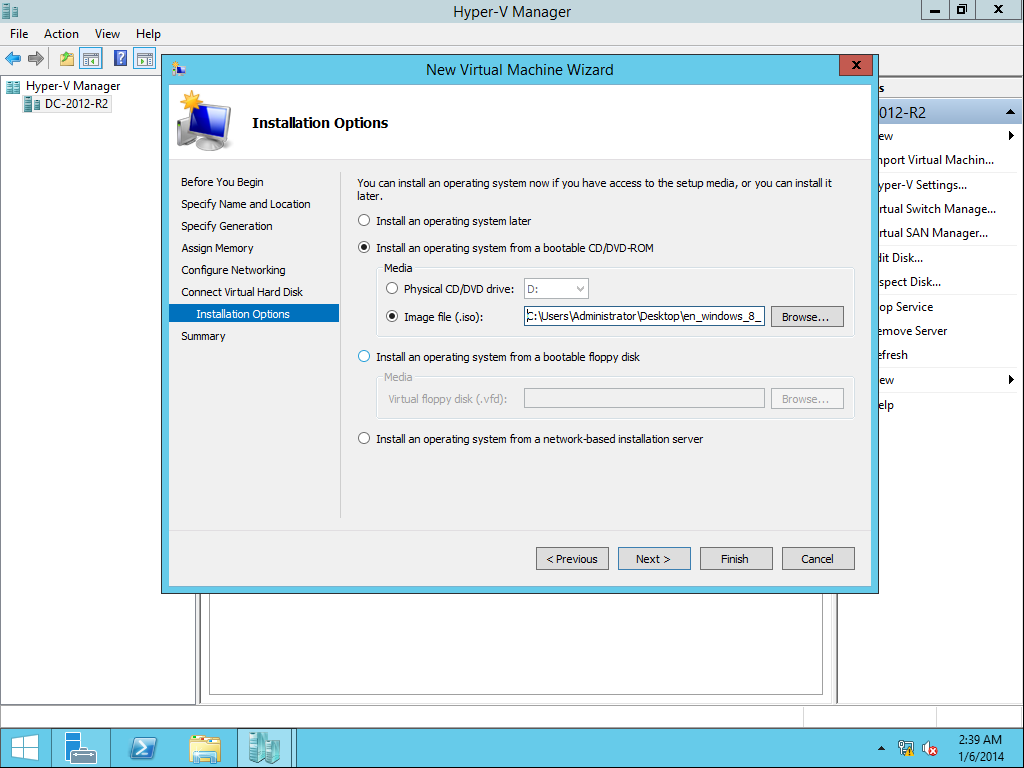
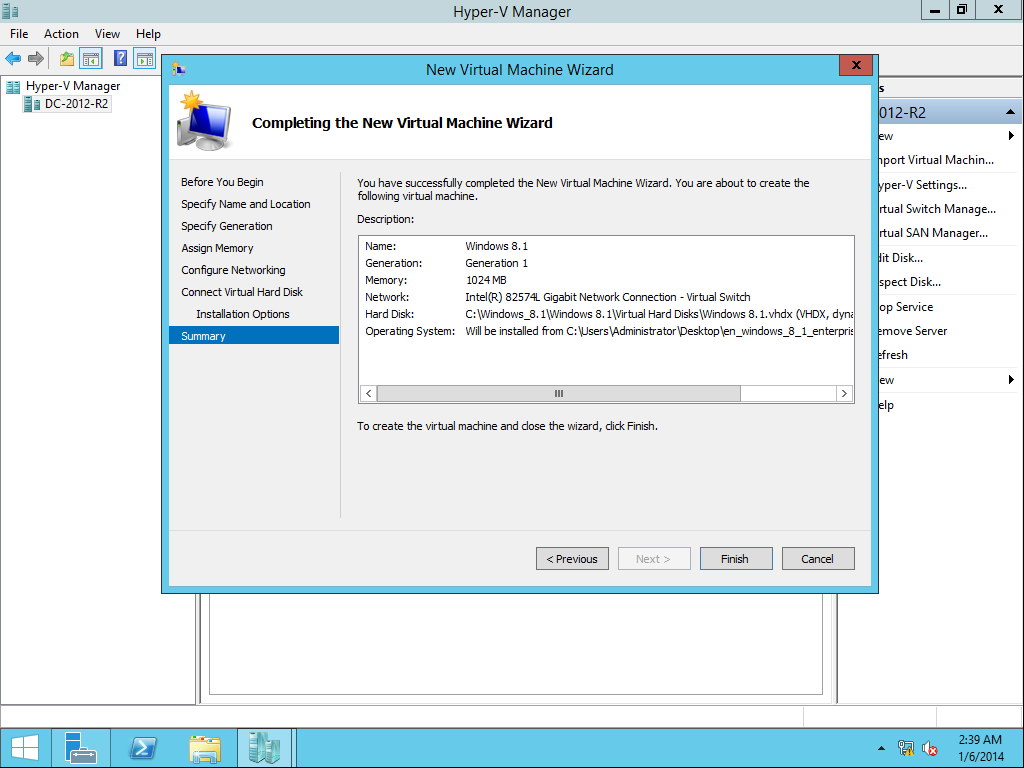
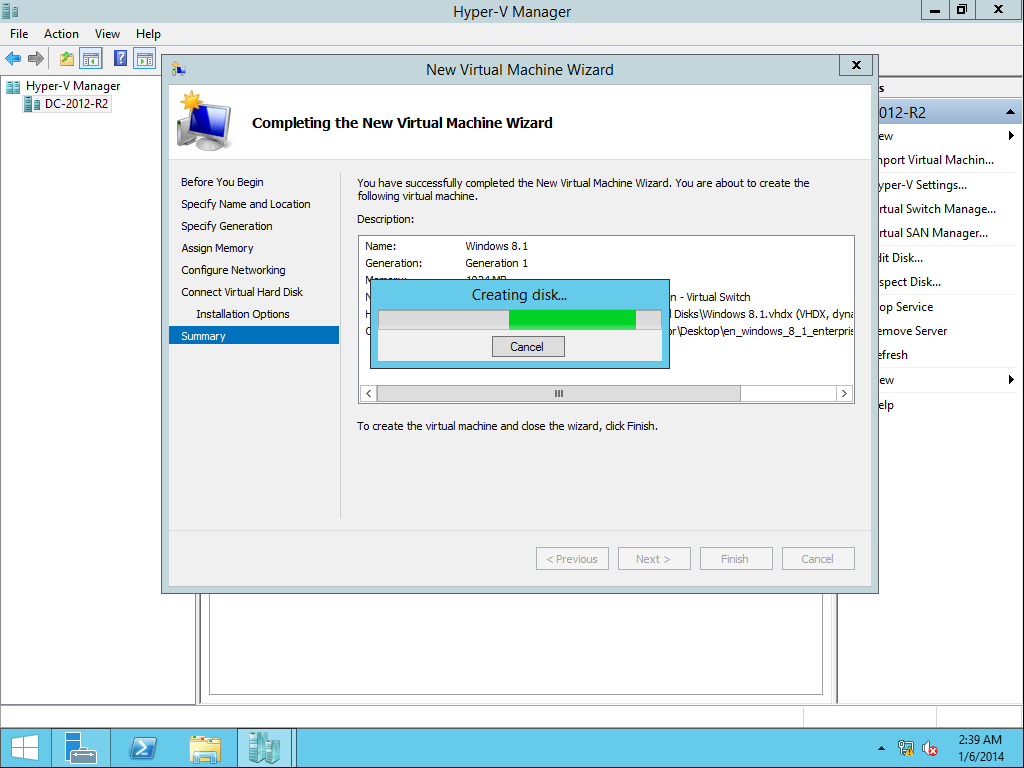
• And Create a New Virtual Machine for test.


• Now Right Click on Virtual Machine and Power -> Power off the VM.
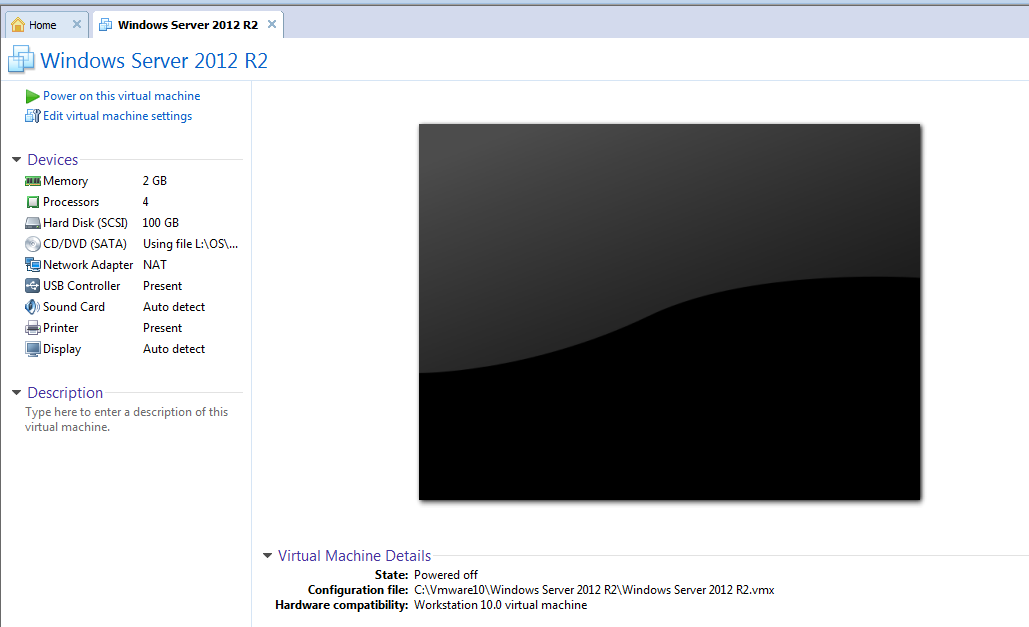
• Now open the file Location for this Virtual Machine and open the file Extension ( *.vmx ) and open it with Notepad.
• In the last line we will add this code and save it:
hypervisor.cpuid.v0 = “FALSE”
mce.enable = “TRUE”
vhu.enable = “TRUE”
• After that edit the setting on VM from vmware workstation select Processors and check the
✔ Virtualize Intel VT-x/EPT or AMD-V/RVI.
✔ Virtualize CPU Performance counters.

• Now the configurations is done, now Power on this virtual machine and install Hyper-V Role.
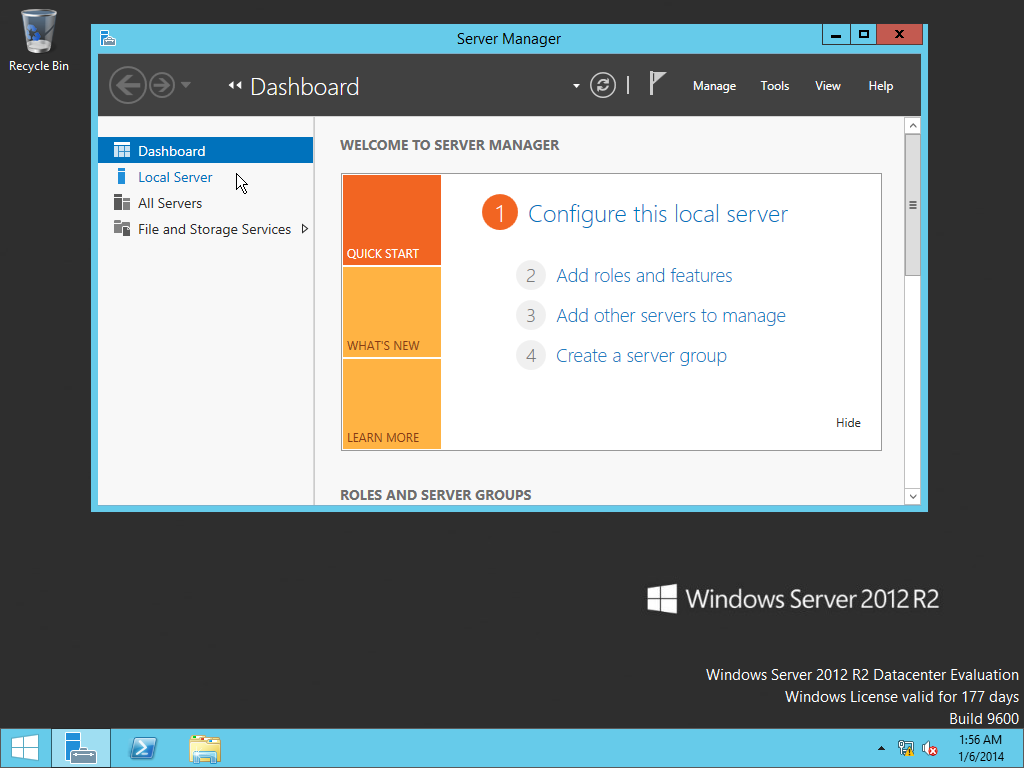


• After installing Hyper-V open the Hyper-V Manager from Administrative Tools.
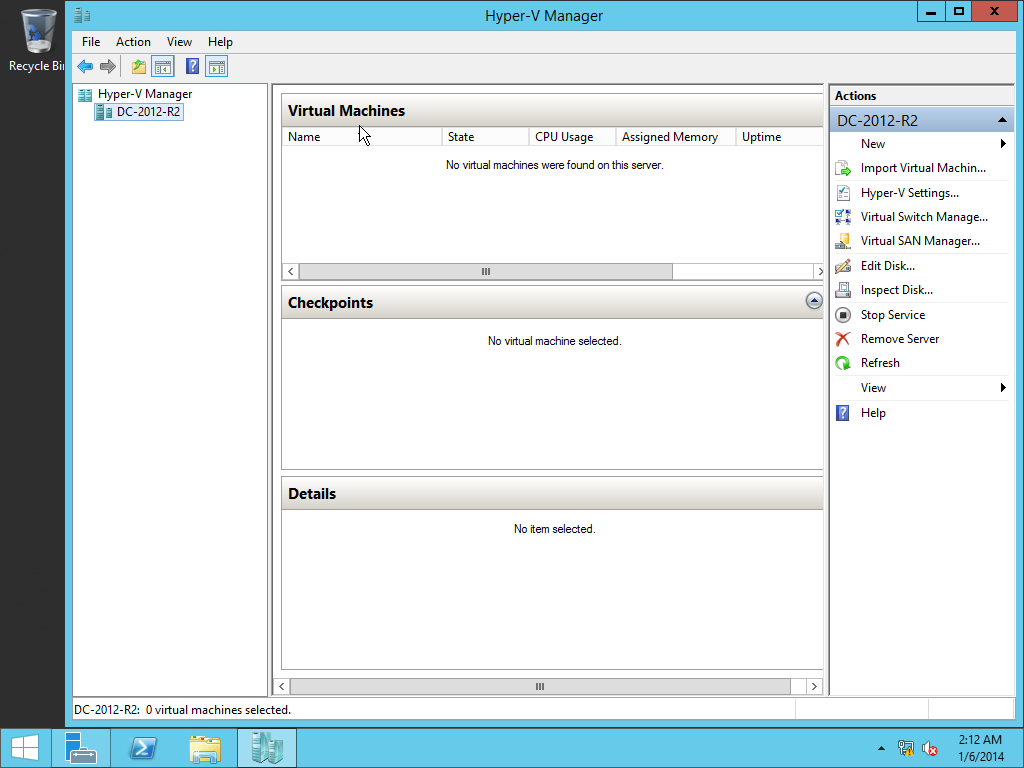
• And Create a New Virtual Machine for test.